Wednesday, 19 June 2013

Harry Potter Party Part 2 Masks and Robes

Part 2

Masks and Robes
 
I found a paper Mache face mask which I then had to find a pattern I liked. I found one but it was for a 1/2 mask , the picture on the right the mask I got my idea from. Grant is a wiz when it comes to photoshop, so he wielded his magic and made the design for a full face mask, I then traced the design onto the paper Mache mask and painted the design silver. I think it looks pretty good.


ROBES

I made 3 robes, one each for the 3 of us.
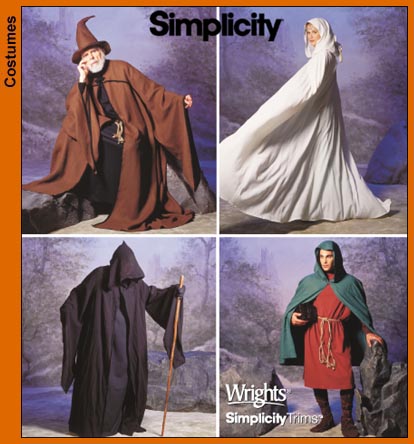
This is the pattern I used to make our robes. Matthew's robe had black panne velvet sewn around the edge of the hood and the sleeves, Grant and my robes were just plain. The robe is the bottom right one.
 Matthew in his Dementor costume
 Myself in my mask and Matthew
 
Grant in his robes
 
Grant doing is best Dark Lord impression.


Roslyn's Grandmother in her awesome blue robes.

 
The resident house elf " DOBBY" as played for the evening by Vicki


Monday, 17 June 2013

Harry Potter Party Part 1 Lolly Boxes and cake

This the first part of a few posts for the Harry Potter party that was held for Roslyn's 16th Birthday this year.
The first part is letting you know what we made.
I decided to do a few different posts so it wouldn't end up 1 big post .


Well where do I start. We started planning the party 12 months ago, what fun we have had. We being myself, Vicki Gardner and her daughter Roslyn, who's birthday it was .
We started off planning what we were going to make, we made flying keys ( which looked awesome) floating candles, spiders, a painted brick wall and a painted Hogwarts express train, the 9 3/4 platform sign and I almost forgot lolly boxes and wands and my face mask.

The day of the party I went over early to help put things up. I hung the spiders outside along with some spooky looking spider web and some smaller spiders, Roslyn and Vicki had made a big spider which also was hung outside, once it got dark the kids went outside and we turned off the light, a few got a bit scared.

We had a few working bees to get things made, with the lolly boxes we had a production line going to get them made, same with the wands.

Vicki made the topper to end all cake toppers. Out of Oasis florist foam, she carved the Hogwarts school. I had a very minor part in all this in that I supplied the clock for the clock tower.


Cake and cake topper


Lolly Boxes


.
 
Finished boxes.

Thursday, 13 June 2013

Medieval Fayre 2013

Medieval Fayre 2013.
 

Here are some photos of the things I have made.

My latest creations are for this years Medieval Fayre being held at Nurringingy Reserve at Doonside 18-19th May 2013.

I decided last year that I would make a dress. Oh what fun that's been ,trying to get it right has been a struggle as I am not a very competent sewer. I did have the help of the sewing Queen Vicki Gardner. She is a wizard when it comes to sewing,

I also made a necklace but there was a bit of a disaster with that so I remade it, I have tried it on with the dress and it looks pretty good.
 
I have made a little bag to carry my things in, also a fabric covered headband and a belt to wear also.

I had found this awesome fabric at Spotlight which was so pretty, I have since realised that I need more of it but haven't been able to find it again ( OH WELL ).

I found a pattern for the dress but in the beginning kept looking on line to find different dresses but always came back to the same one, so that's the one it had to be.

I had gone to our local craft stores to find that the pattern was $20, me being me couldn't bring myself to pay that much so I searched on eBay and found it for $5.

I am now almost a year later close to finishing the dress and accessories for the Fayre.
We have a busy couple of months ahead with a 16th Birthday party for my friends daughter, its going to be a Harry Potter party,but that's another post.

Thanks for stopping by.
I love this snood, I got it off ebay along with the pattern for the dress.
 
The original necklace I was going to make ended up not working so this is what I came up with.
 I had to put this cross on the front of the dress.
 
 
 My knight in shining armour.
Thanks to Vicki for taking these 2 pictures. 

 I had so many people want to take photos with me, I felt like a rockstar.

Fabric covered headband. I bought a black plastic headband and cut strips of fabric and wound them around the headband.


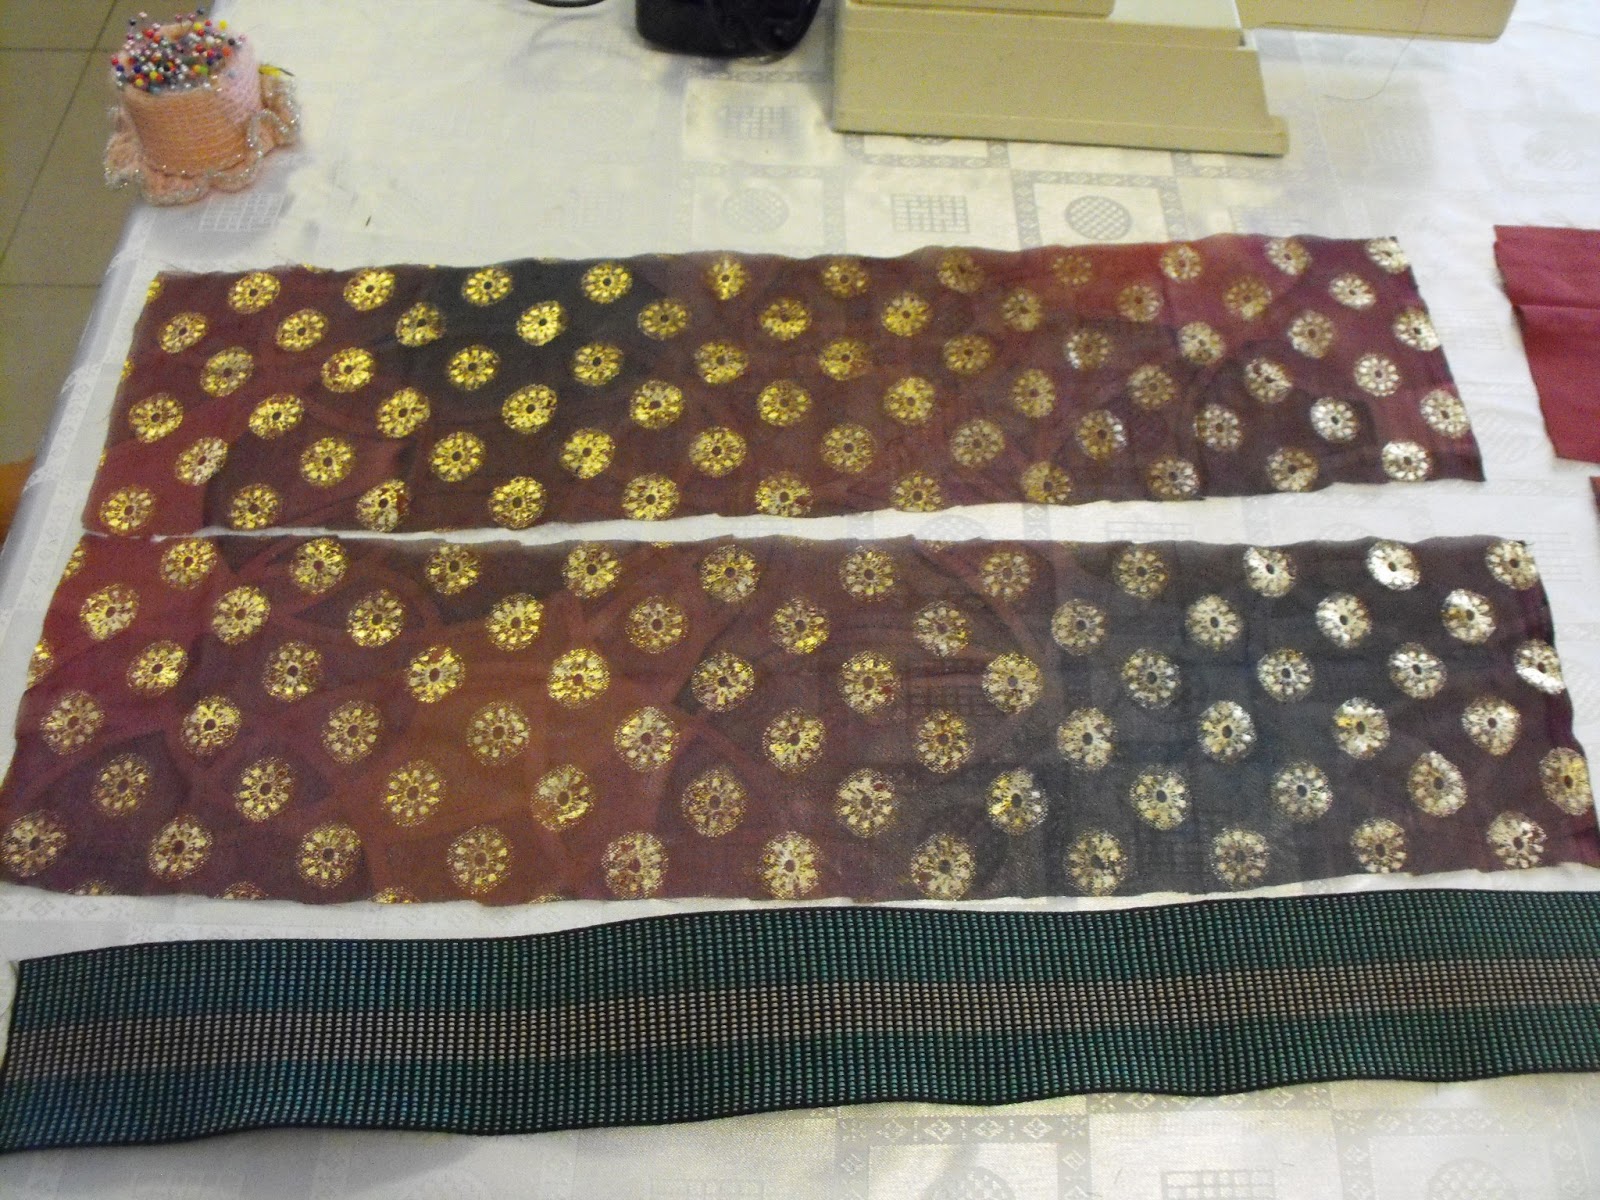
These next couple of pictures are of the belt I made. As it was green webbing I had to make a cover for it out of normal burgundy cotton then I covered it with the same fabric as the dress.


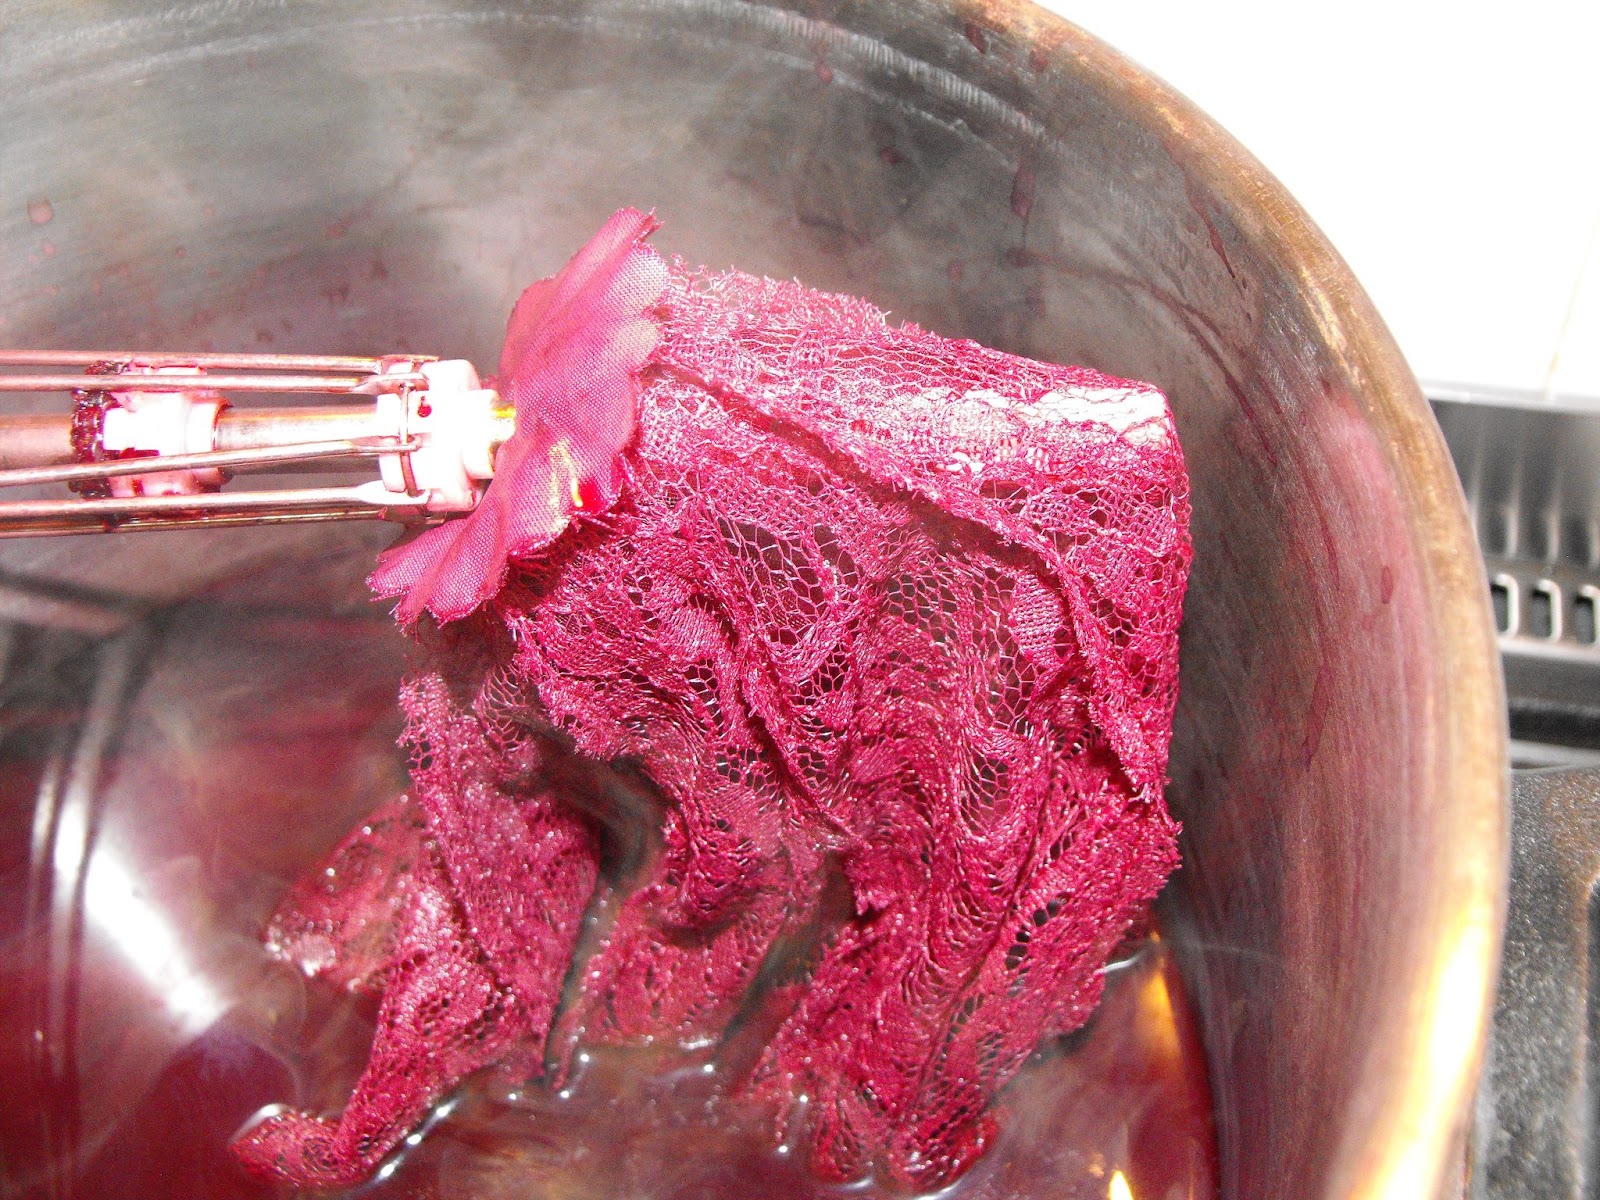
 The next lot of photos are of the lace parasol I bought in white and decided to dye it burgundy.


This is the little bag I made to carry my things on the day.
 
18 inch circle


Monday, 10 June 2013

Kaiser craft project 1 square box, K and Create

Kaiser craft.
 Project 1
 
 
I go to Spotlight a lot and always see projects I want to do , some times I buy them then they sit there unfinished. This year I decided to actually get them done.
 
The first one I did was a little square container to hold pens etc.
I had the perfect paper for it which looked like padded look paper in a very light mint green colour.
The only problem was that I only had 2 sheets of it and there wasn't a name on the paper so I could find out where to get more, then I thought well do 3 different ones.
 
The first one is using the padded look paper, for around the top I used a cream gimp braid and little cream pearls .
 
As I wanted to keep the same sort of colour theme because I had painted the boxes with Kaisercraft Pistachio paint , I looked through my paper stash and found 2 other papers that had similar colours to the paint,all up it took me about 1/2 to finish all 3 of them off .
 
I like them as they all have different jobs they have to do. 1 is for pens ,the others are for scissors and tools etc.


Kaiercraft
 
These ones are just for me.
As most of you know I love the colour red and butterflies. So what better way to use both.
I found this awesome paper which has red tones and of course Butterflies.
 
I found a Kaisercraft Create word at Spotlight along with a big K.
 
I painted the edges with a red/burgundy paint ( I think I mixed this one up ), then I covered the create with the butterfly paper, I then cut out a little butterfly and stuck it onto the word. Its now stuck on my craft wall.
 
The K I did the same thing as I did with the Create word. I was going to use different paper but I thought why not use up the rest of the paper. I do sometimes have trouble cutting up papers but now I think with them what the hell.

This paper is of course Kaisercraft P769 Sweet Nothings Double-Sided Paper 12 in. X12 in.


Sunday, 9 June 2013

Kaisercraft project 5 Plaque for Hayden

Kaisercraft
 
Project 5
 
This one was a cute one to do.
 
I found at Aldi of all places, Kaisercraft kits for $10. Well you know me I love a bargain.
This kit had a plaque, papers, embellishments etc, its a great kit.
 
My cousin and his wife were expecting their 2nd child, at that stage they didn't know what they were going to be having.
Once they found this out this kit was so perfect for it . It had Kaisercraft papers to it that were great for a little boy.
 
This one took me a while to do too as I couldn't decide on where everything was going to go.
 
I used Kaisercraft letters and paint Yellow deep KC006
 
These papers are great as they have little edges which can also be used on your projects.
I finished the project off the night before Mothers day this year.
 Some of the papers I used were from the Party Animal Collection P658 Yippee.
I am happy with how the project turned out, its nice and bright .